Chapter 7: the Tiller
Most of the manufacturing time for self bows is devoted to getting the bend just right, the process of tillering. Some bowyers subdivide this further into three stages: floor tillering, longstring tillering, and short string tillering.
The central idea in tillering is to identify which areas of the bow are bending and which ones are stiff. Leave the bending areas alone and carve away the stiff areas, until they bend.
The other main idea is that you never want to pull your bow harder than the intended draw weight. Since I’m making a 40 pound bow I should never push or pull harder than 40 pounds— that will just unnecessarily stress the wood.
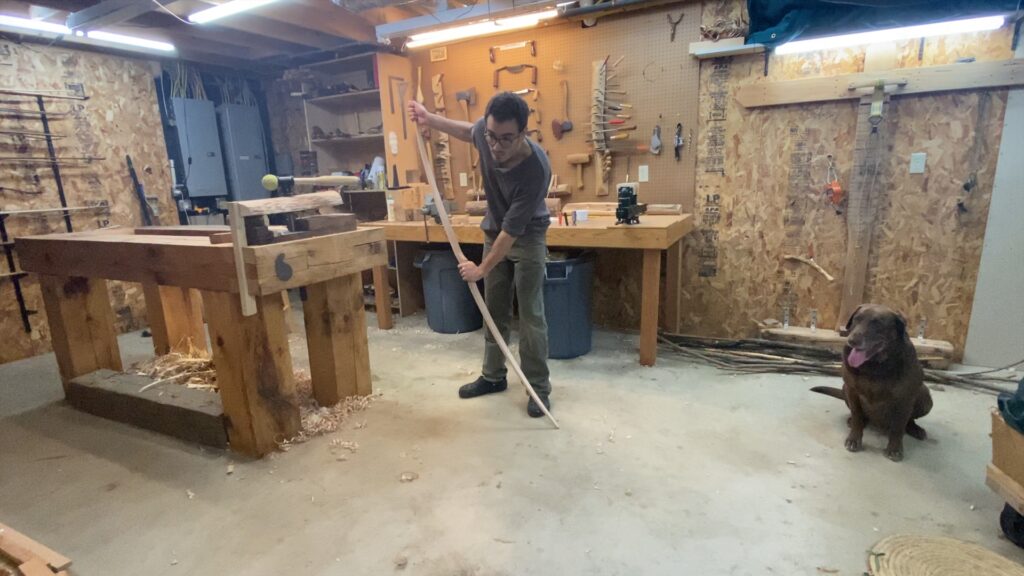
Don’t forget to exercise the limbs between tillering sessions. Sometimes you have to work the limbs a bit before the tiller catches up to your adjustments.

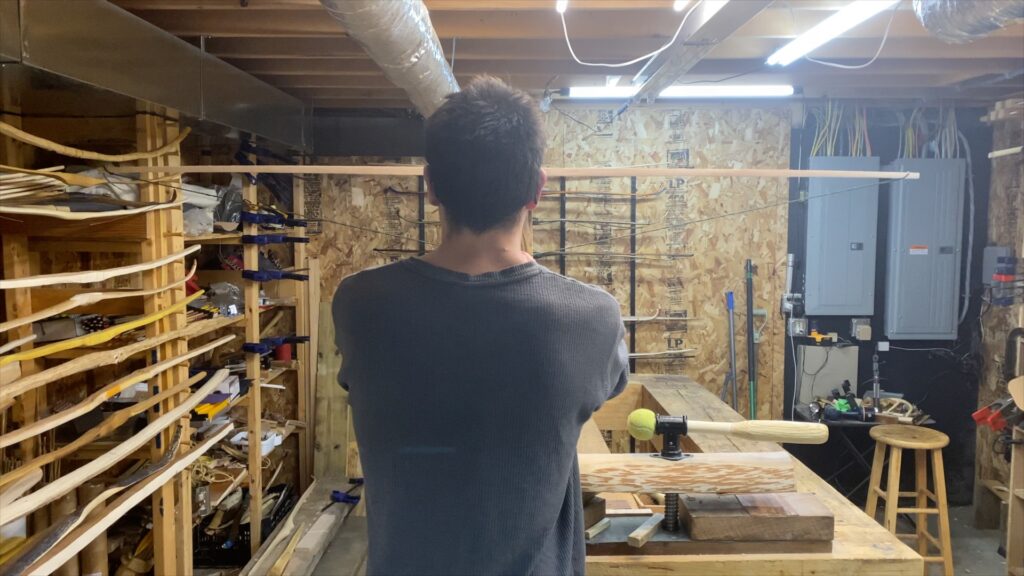
I’m starting out with floor tillering. All I’m doing is pressing on the bow with roughly my target draw weight of 40 pounds, while I watch the limbs bend in a mirror. Floor tillering is much faster and less work than longstring tillering, but it’s easier to make a mistake.
After checking each limb, I flip the bow around and check the other. Floor tillering doesn’t show you how the limbs bend in relation to each other, it only reveals the tiller of one individual limb at a time.
Floor tillering isn’t for everyone. If you’re worried you’ll mess it up, it’s ok if you skip it entirely and start with the longstring instead.
Making a Tiller Tree
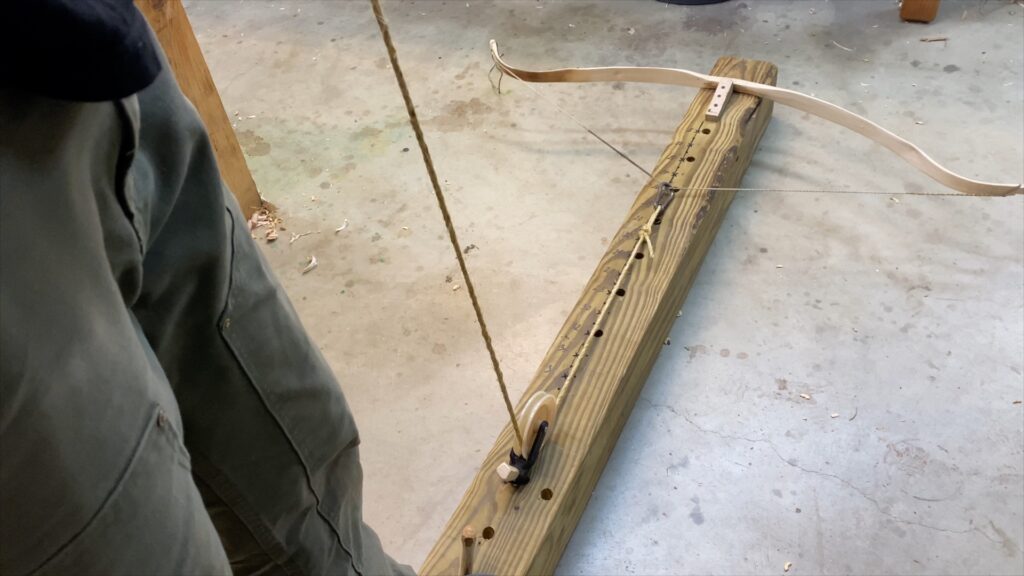
Here’s a simple way to rig up a tiller tree so you can longstring tiller from a safe distance. This design also doubles as a portable tiller tree that you can either use on the ground, or clamped upright like a normal tree.
You absolutely don’t have to make a tiller tree, you can tiller with a mirror, or just pull by hand. There’s also a popular device called a tillering stick. If you want to make one there are many guides out there. I recommend making a rope and pulley style tree instead— they’re a lot safer and less stressful on the bow.
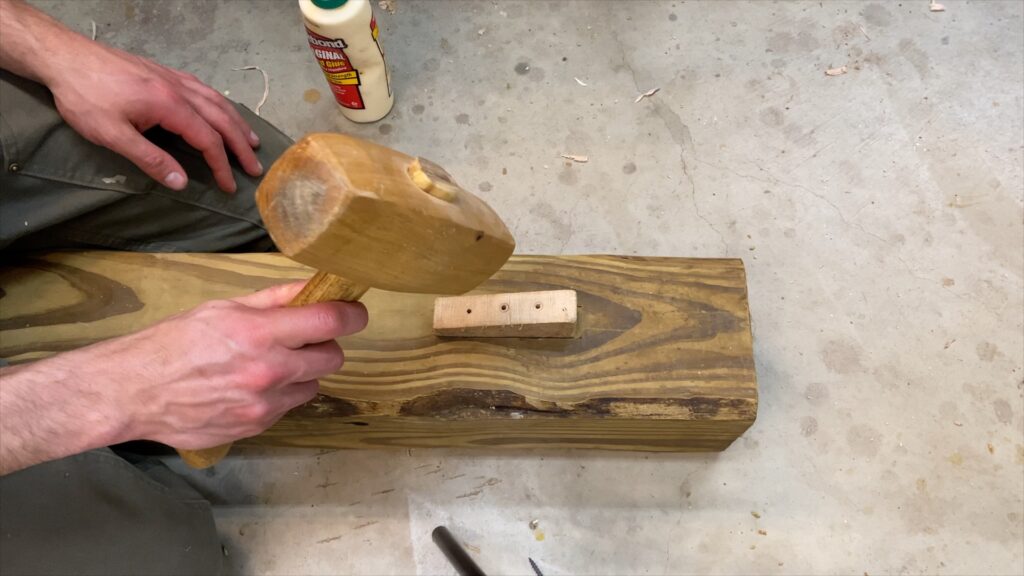
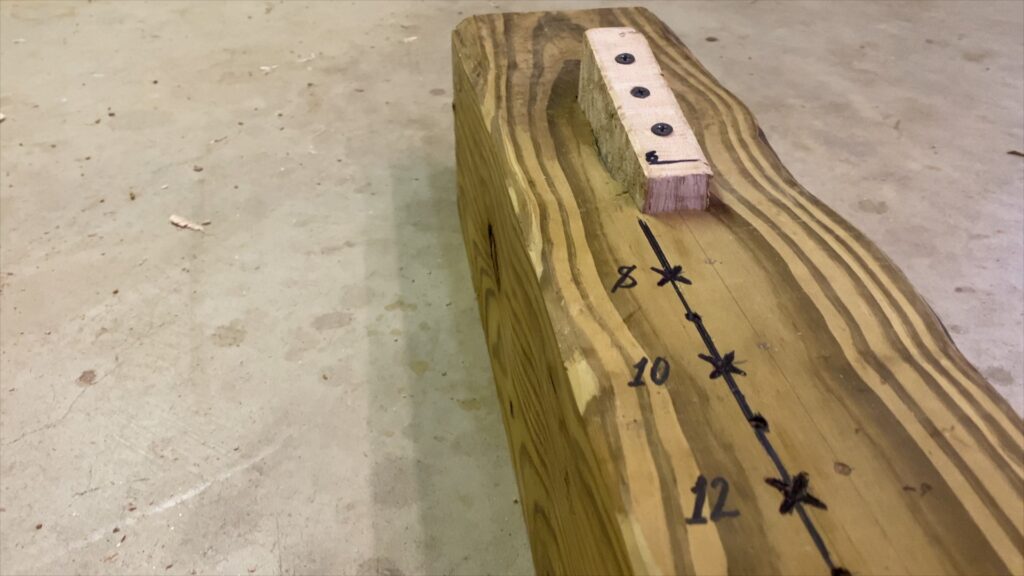
I mortised in the bow pivot for extra strength but you don’t need to.
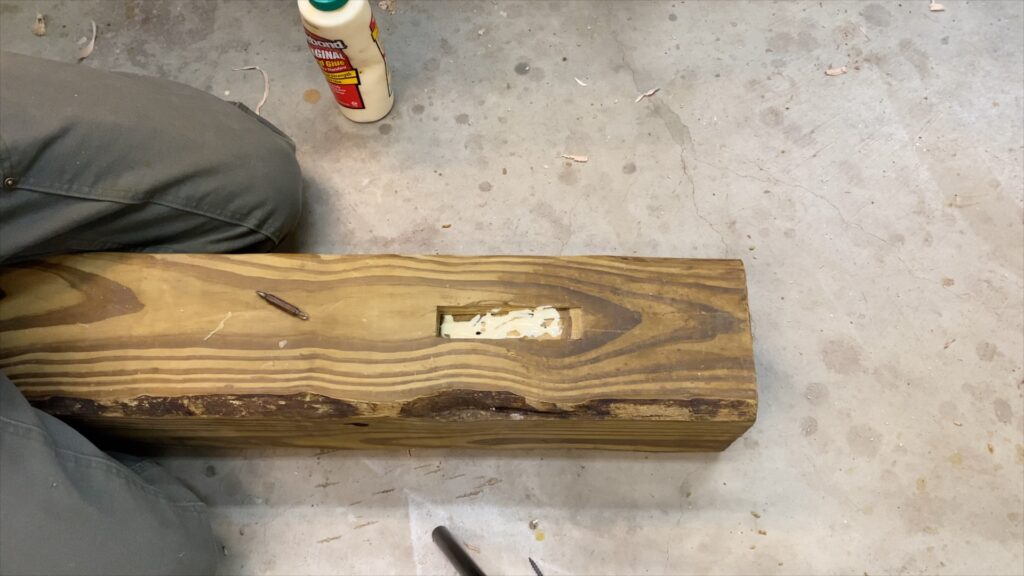
You also don’t need to use a beam this massive. Most scrap boards will be fine, as long as your tree doest warp badly when you draw the bow.
A clothesline pulley is surprisingly strong and can even handle warbows. They all have differing mounting methods so you’ll need to think of your own way to rig the pulley to the tree.
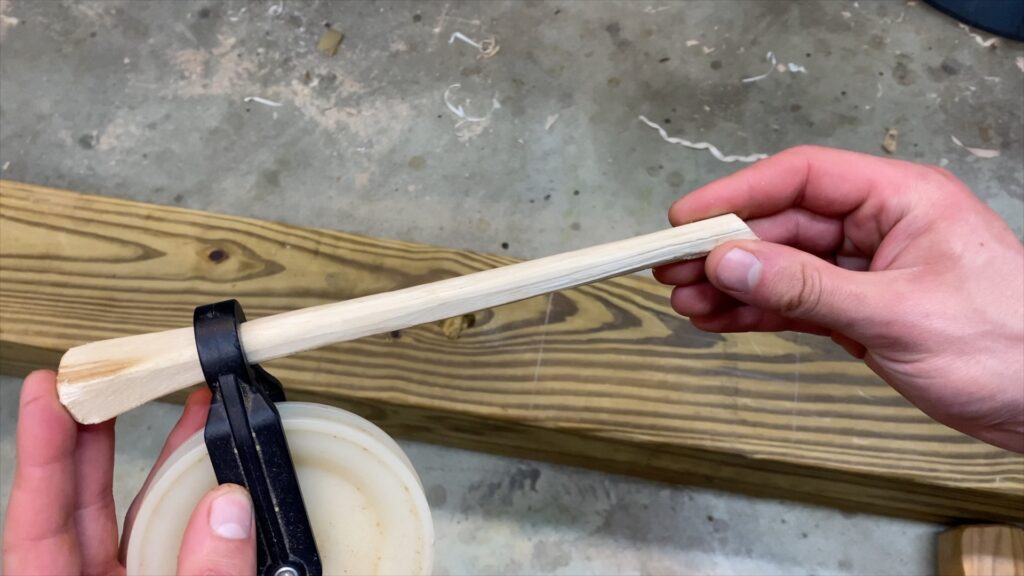
I’m using a very tough hickory peg to hold the pulley. Most other woods may not be strong enough while still fitting in the hole.
If you can, angle your pulley mount away from the bow pivot, so the bow doesn’t pull it out.
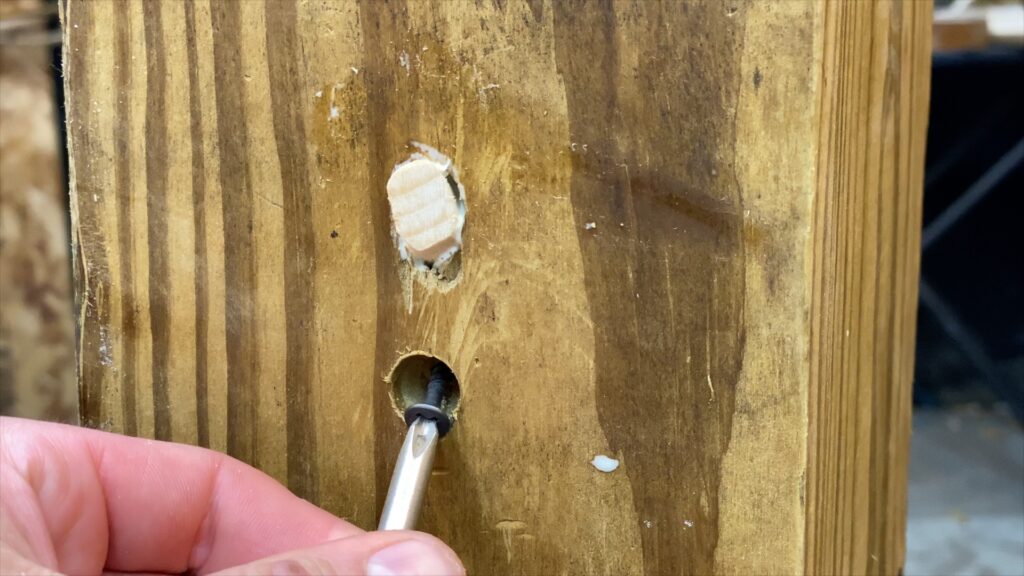
The pulley can be held by friction but I added a removable screw to be sure it won’t move.
String a cable or rope through the pulley and add a strong carabiner.
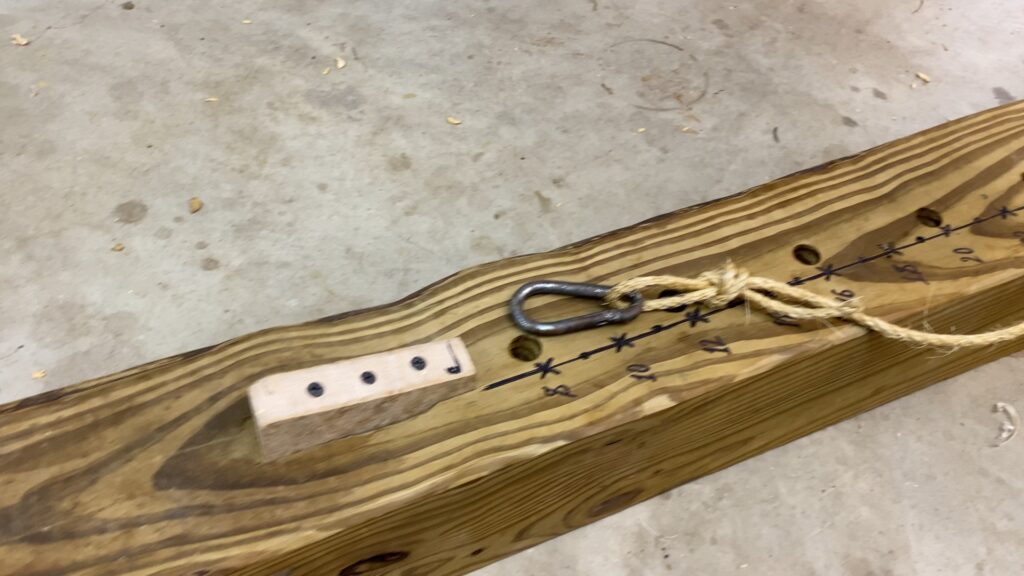
Adding a handle makes the tree much more comfortable, but you can also just tie a loop in the end of the rope.
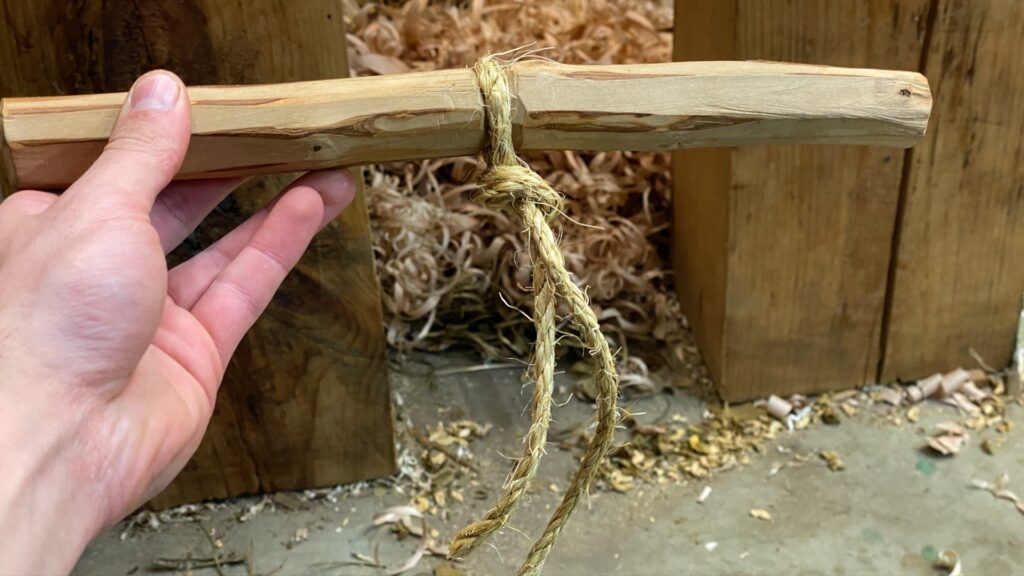
Last thing, a note about draw length. The draw length numbers on my tiller tree assume that the handle is 1.75” thick. Since individual bows may have differently sized handles, the numbers may be shifted off slightly for any bow with a different handle size. Keep this issue in mind if you want to put measurements on your tree. Now we’re almost ready to longstring tiller, we just need a string.
Mervyn Patterson
Hi, congratulations on your full tutorial.It was very well done,easy to follow and understand,one of if not the best tutorial I have seen.Thanks very much I as a amateur bowyer found it most informative but being English my experience is more toward the English Longbow or D section bow.I have had some success with Italian and Pacific Yew.After seeing this I will have a go at a flat bow.
Best wishes Mervyn Patterson UK.
dansantanabows
Thanks Mervyn. In the UK also keep an eye out for Ash, Elm, and Hazel. On facebook there’s a UK bowyer’s group you may want to check out. There’s probably someone close to you who can show you the ropes. There are also several UK bowyers on the other groups and r/bowyer. Good luck and enjoy the journey!
Duke
I am very new at this and can’t wait to start. thank you very much for these easy-to-follow instructions and video. As soon as I obtain the equipment and a good piece of wood I will try to follow your directions.
thanks again and be safe
dansantanabows
Glad to hear it Duke. Hope to see your bow on r/bowyer one day. Good luck and feel free to post as many tiller checks as you need
Gingdah
I enjoyed the detail that you have. This one of best Detail videos on making a bow I seem.
Tyson
Picked up a red maple board and a draw knife today, getting started this weekend. Can’t thank you enough!
dansantanabows
That’s awesome! With red maple I’d go for a slightly wider bow than I have, maybe 2” wide, or a slightly lower draw weight of 30 or 35 pounds. Next time if you can, try to get one of the maple species categorized as a ‘hard’ maple like sugar maple. Silver and red are a bit less dense, but don’t worry and it won’t stop you from making a bow. Just pay extra attention to the set and drop off the draw weight if you start seeing more than a couple inches.
Good luck and feel free to post as many tiller checks on r/bowyer as you need
Tyson
Thanks, Home Depot was my first stop for lumber, red maple was the best they had in hardwood planks at the moment, excluding mahogany. I did notice the porousness so went with the best most dense board I could find. I’ll post my progress!
Terry Bowmam
I am not able to get bow wood boards around here to sort thru.
I can get Black Walnut or Eastern Red Cedar bow making lumber, but requires a backing. I don’t want to waste my hickory backing yet, been a long time simce I made a wooden bow.
My question is, will that linen backing in your video be strong enough, with some reflex? Or maybe double it?
Thanls
dansantanabows
I’m not a big fan of doubling up on the backing because of the extra mess and glue line. Better to use a thicker backing from the start. I think with ERC lumber you’re probably going to need a hard backing unless you find a miraculously clean and straight board. With natural staves, if you’re able to chase or almost chase a ring then ERC can handle being unbacked, despite the popular advice. The problem is that the other popular advice for ERC is that it’s ok to violate the fibers on the back. This is only true to an extent and I wonder if this practice has much to do with juniper’s reputation for breaking in tension.
John Halverson
You would NOT be wasting your hickory backing on an Eastern red cedar board (so long as the board is fairly decent grained with few or no knots). In fact, Hickory backed eastern red cedar (often called HERC) is considered a superior combination for high speed, high efficiency bows.
dansantanabows
I will write more in the future as my formal ideas develop. My informal ideas are easily found on r/bowyer. Thanks for this backhanded compliment, I think.
Pat
I’m impressed, I must say. Seldom do I encounter a blog that’s equally educative and amusing, and let me tell you, you’ve hit the nail on the head.
The problem is something which too few people are speaking intelligently
about. I’m very happy I stumbled across this during my hunt for something concerning this.
Kevin
G’day Dan, fantastic tutorial. I have always wanted to make a bow and I would like to thank you for putting the time into your channel. I live downunder and I am trying to work out what local timber I can use. After watch this I think I will try to practice on a fine grained timber and will certainly look what is in town at the hardware as well. Thanks again. Cheers Kev
Rex
G’day Kevin, I’ve heard quite a few say Spotted Gum is a good option of you find a nice board. I couldn’t find any it the right size at my local timber supplier so I opted for a really straight bit of Jarrah as it’s properties looked similar to hard maple (density, elasticity and modulus or rupture), hopefully it will work. Some others have said iron bark could work for a bow, but that stuff is so hard it makes it difficult to shape.
Rex
G’day Kev
I’m keen to try this out as well. I’ve heard Spotted gum is a good option. I’m going to try it with some Jarrah. Ironbark might work but that stuff’s really hard, shaping it will probably be a pain and lots of tool sharpening.
Cheers,
Rex
Rex
G’day Kev
I’m keen to try this out as well. I’ve heard Spotted gum is a good option. I’m going to try it with some Jarrah. Ironbark might work but that stuff’s really hard, shaping it will probably be a pain and lots of tool sharpening.
Cheers,
Rex
Mickey O'Neill
Dan–My son and I have decided at the same time to get into traditional bow-making. We shot off and on for years, and really enjoy being out in the fresh air and sunshine losing arrows together!
We both truly appreciate your teaching style and the beauty of the videos you’ve made. Thanks for your generosity!
We both went to the store and got red oak boards for our first bows. That is some hard wood! It’s pretty slow going for the moment, but we’ll see how it goes as we progress.
We share the ultimate goal of crafting character bows out of wood we harvest for ourselves. We’re in Oklahoma, and tried over 20 years ago to make a bow from a piece of Osage Orange. Our attempt still hangs in my office! Hopefully, with your tutelage, we will produce something that shoots!
dansantanabows
Good luck Mickey! I heard from your son on reddit last week and am very glad to hear you’re taking on the project together. Let me know if you have any questions or trouble, and feel free to post as many tiller checks on reddit as you need. Go make a bow!
Ross H
Dan, I loved this tutorial. Extremely helpful, a friend of mine and bowyer, Correy Hawk pointed me to your video. I had a question regarding the scale of the bow.
If I wanted to follow your tutorial to make a kids bow (for a 3-5 year old) how does this scale down from the longer ones you make?
Thank you.
dansantanabows
Correy is an awesome bowyer and teacher. I would love to film one of his classes someday. To answer your question it depends a lot on the design. The absolute easiest way is to copy other kids bow’s dimensions that you see on other forums. Of course you can only copy the rough out dimensions since the true dimensions will be revealed by tillering. For a same length bow you can adjust the draw weight by scaling the width. And as a rough rule of thumb you can estimate the bow length by doubling draw length and adding on the length of your stiff handle, and adding a few extra inches per limb for stiff tips. This will give you plenty of margin for error. It’s possible to make a bow shorter but that will give you a nice safe length.