Chapter 5: the Rough Out
Establishing the Front Profile
The goal of the rough out stage is to make an oversized bow shaped object that’s still stiff along the whole bending limb.
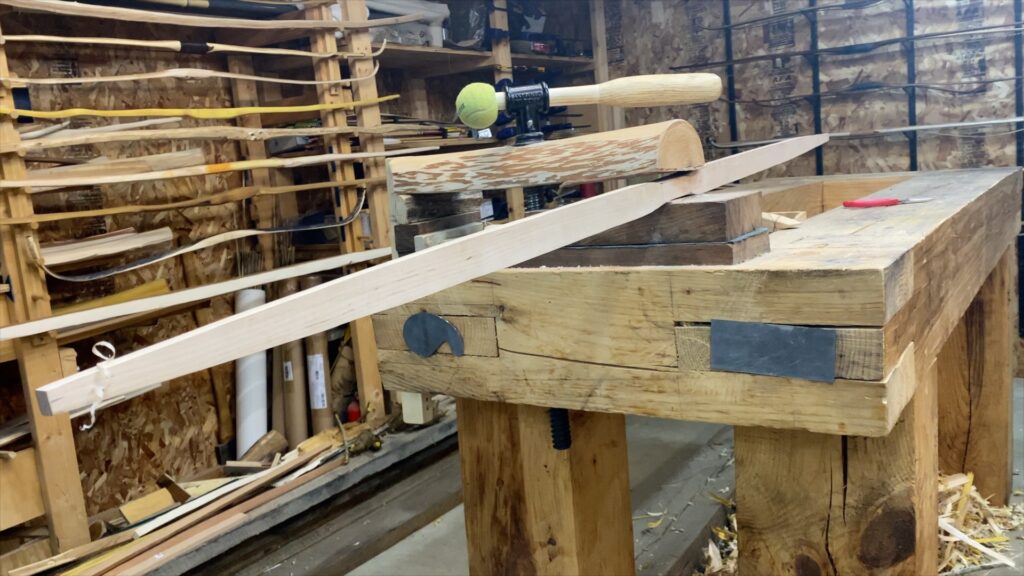
First we’ll establish the front profile of the bow by carving out the width taper. Then we’ll establish the side profile by giving the limbs a thickness taper.
It’s important to taper your limbs, otherwise they’ll only bend from the inner limbs, which will be overstressed. Tapering the limbs, and later tillering them will allow the entire limb to bend.
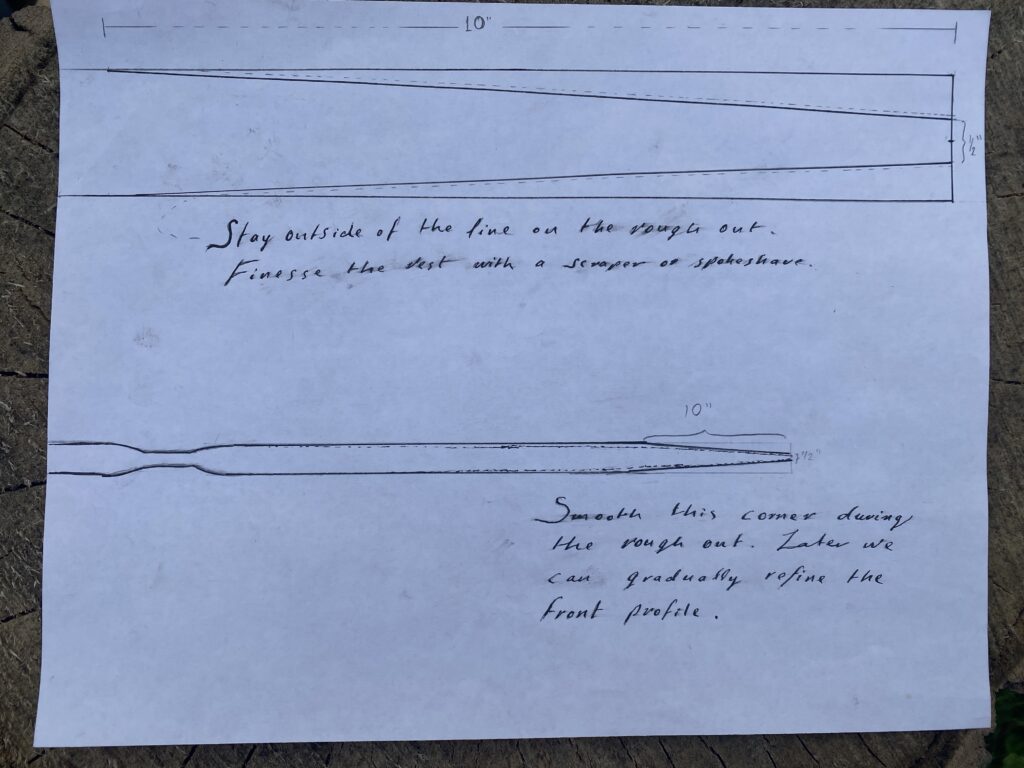
I’m laying out the tips to be 1/2″ wide. To start off, I’ll be tapering the ends of the bow down to that half inch width, starting around 10” from the tips. This will leave a slight corner that we can round over later on, for a smoother more aerodynamic shape.
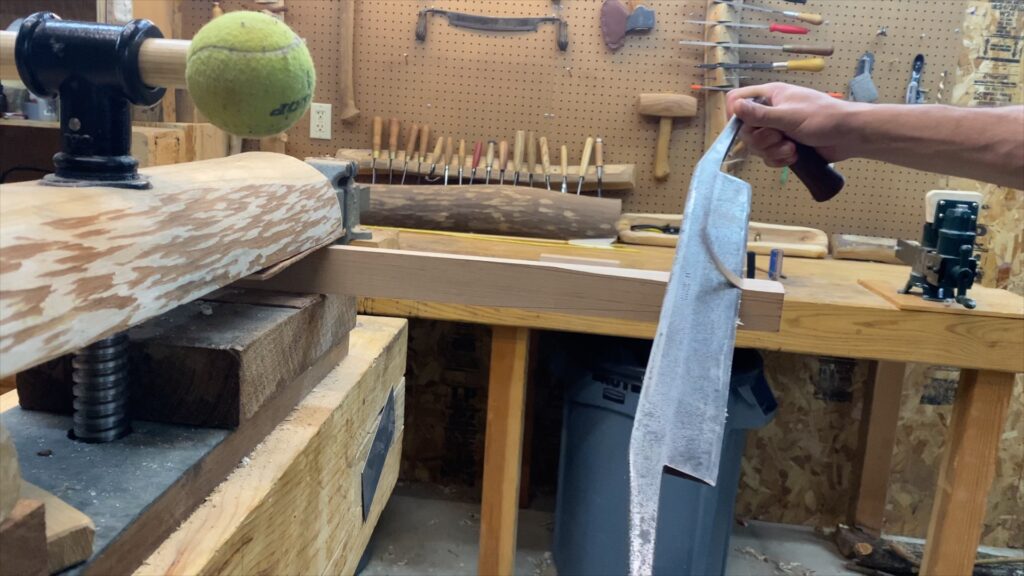
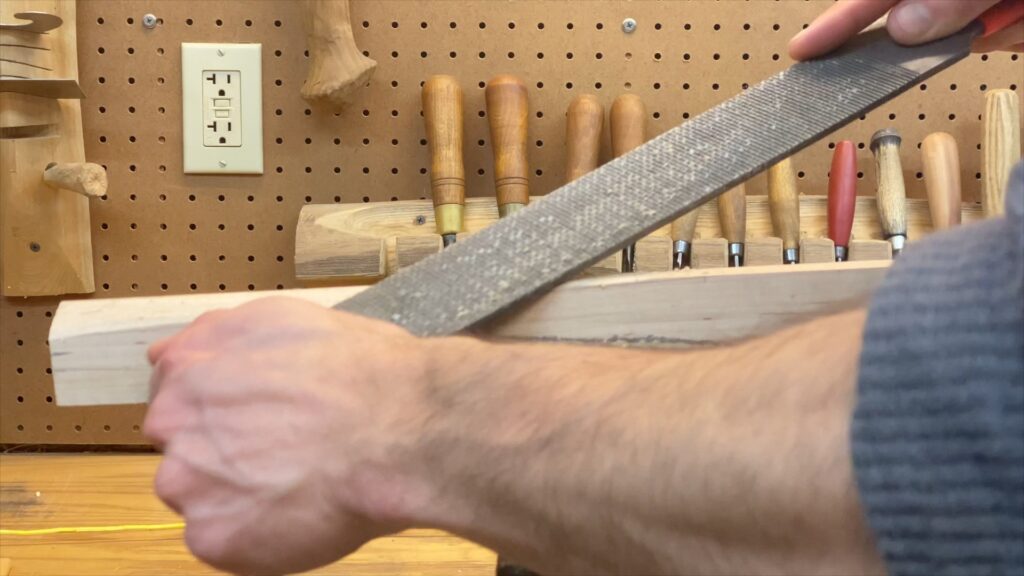
Especially at this stage, it really doesnt matter what tool you use. I’m using a rasp here, just to show you how that goes. It takes a little longer and needs a little more elbow grease compared to the drawknife. But it’s much harder to mess up.
You could also saw out the tips, especially on a bandsaw if you have one. I’m using a farriers rasp. Another popular choice is a Shinto Rasp.
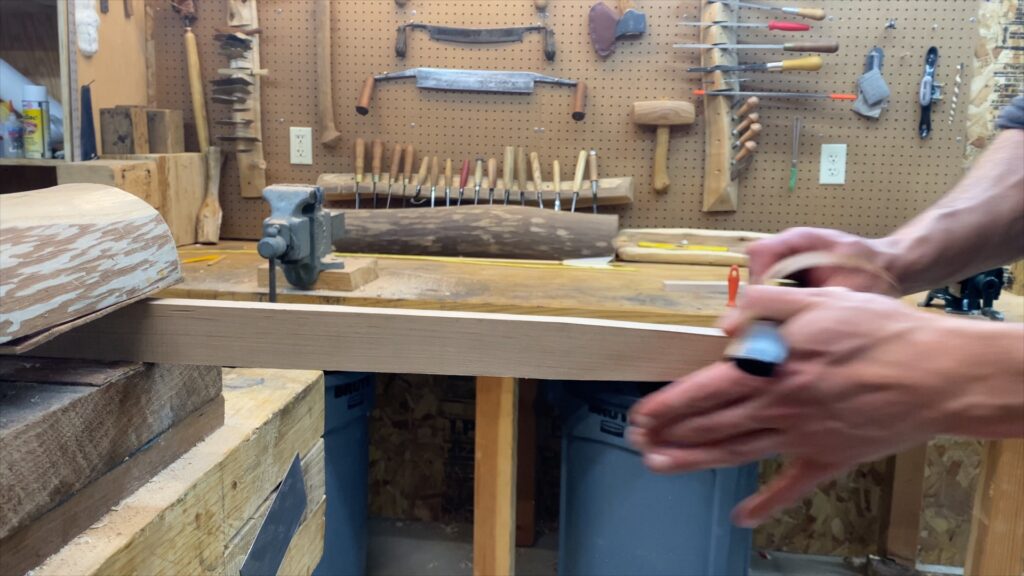
After carving the rough shape of the tips, you’ll have a slight corner left over. Round that out with a rasp or a file. I’m using a spokeshave.
the Thickness Taper
Now that we have the rough front profile of the bow, we can start to establish the thickness taper. I’ve marked the tip of the bow to 3/8” thick and drawn a line all the way to the end of the fades.
Now we have a lot of wood to remove but we can’t afford a mistake. Facet carving is a simple trick to organize the carving, and make it go by faster and with more control. The idea is to break up any carving tasks into facets.
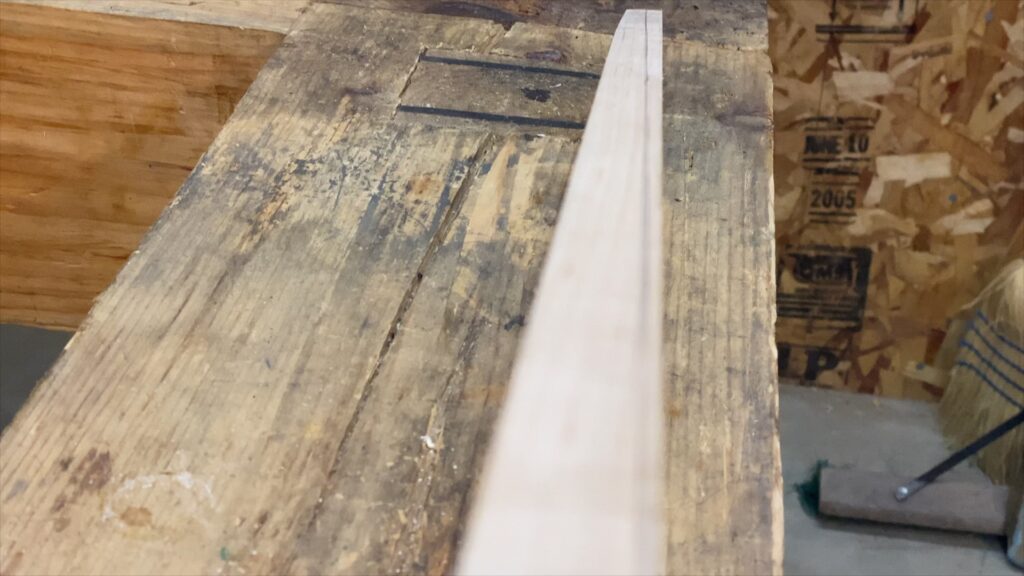
Carving on flat wood with flat tools is tedious and effortful, but carving ridges is easy. If you break up the carving task into triangular shapes, you can carve on ridges most of the time, and have more control.
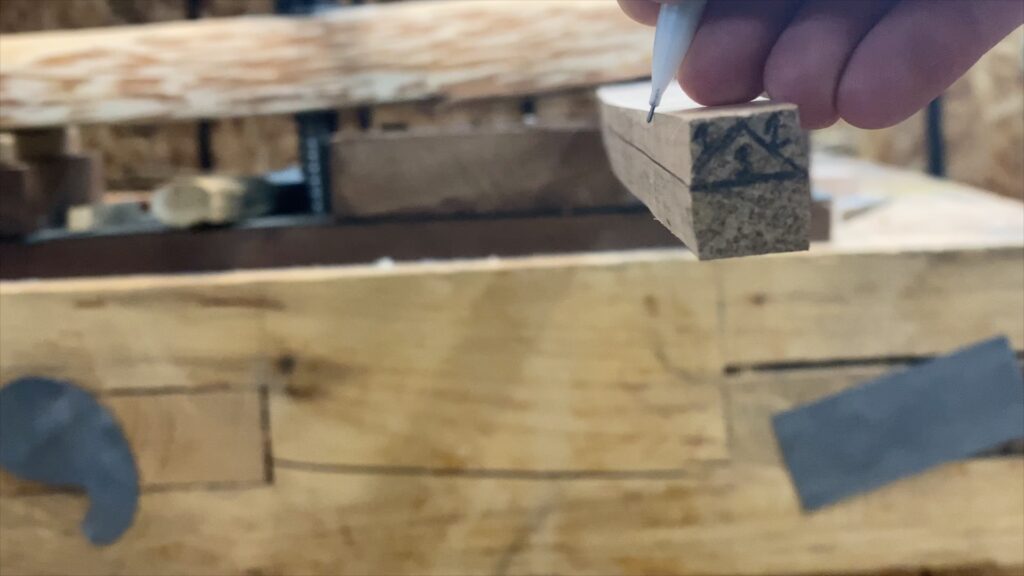
First remove either corner, all the way down to your guide lines on the side.
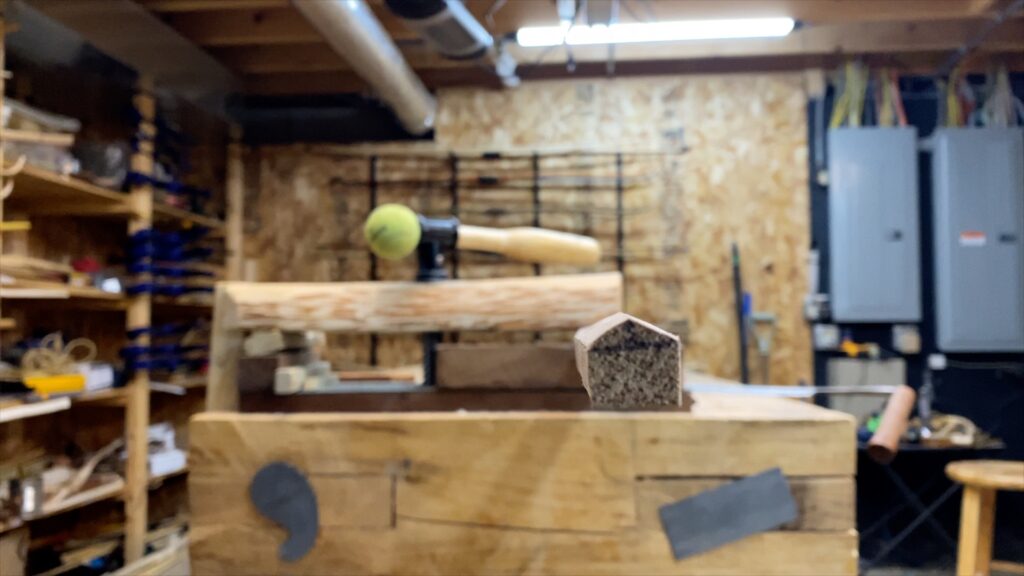
Once you have a crisp ridge down the middle, it can then be easily removed with a flat tool.
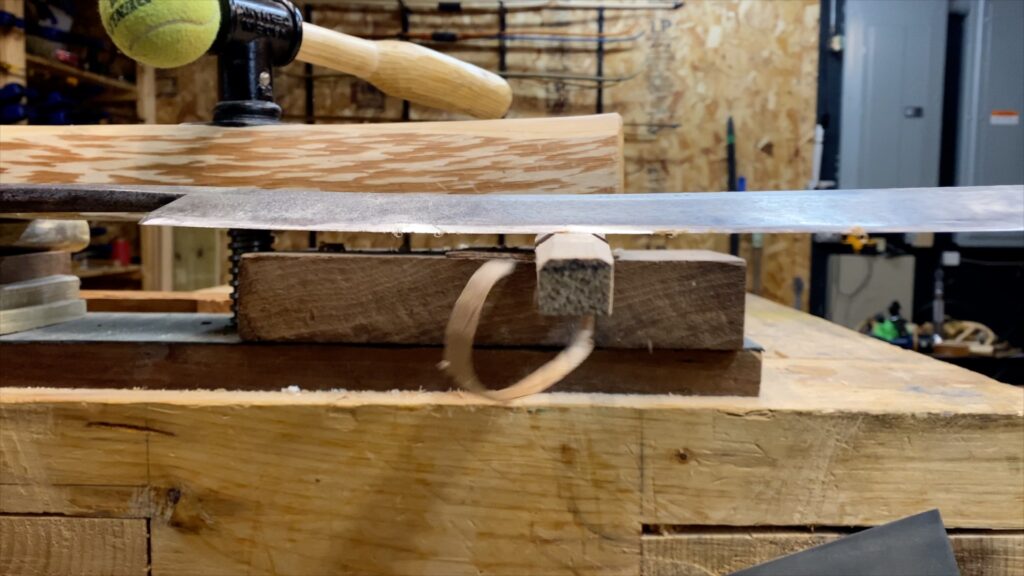
Carving the Fades
I cut out these fades with a coping saw, but usually I carve them out with drawknives, files, and gouges. Use whatever you’re comfortable with, it doesn’t matter as long as you don’t accidentally create a weak spot where the limb starts.
The base of the limb should be the thickest part of the whole limb, otherwise it will be a weak spot.
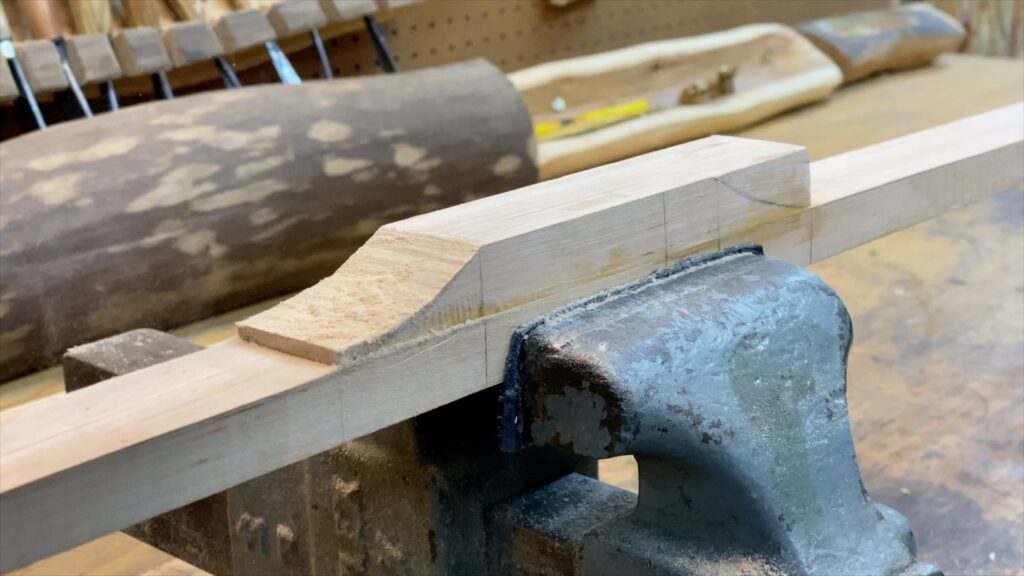
For now I’m blending the fades right into the base of the limb. Later on Ill carve them slightly longer, beyond the doted line in the drawing. Its important that your fades are strong enough that all the bending stays away from the glue joint in the handle.
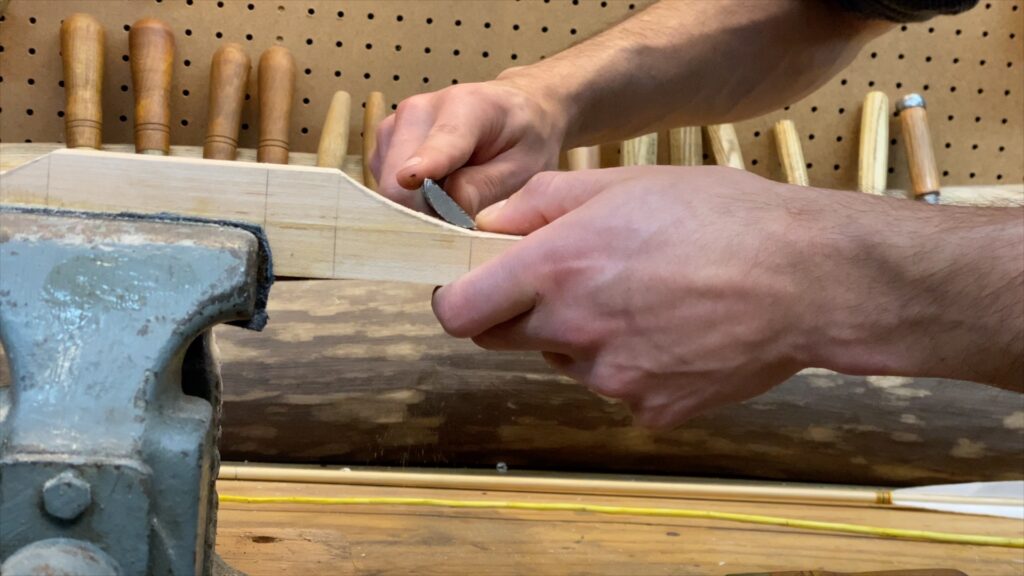
Now I’m starting to mark out and shape the front view of the handle. Since we are narrowing it from the front, the handle has to be thick from the side. The fades should be a smooth transition between the two cross sections.
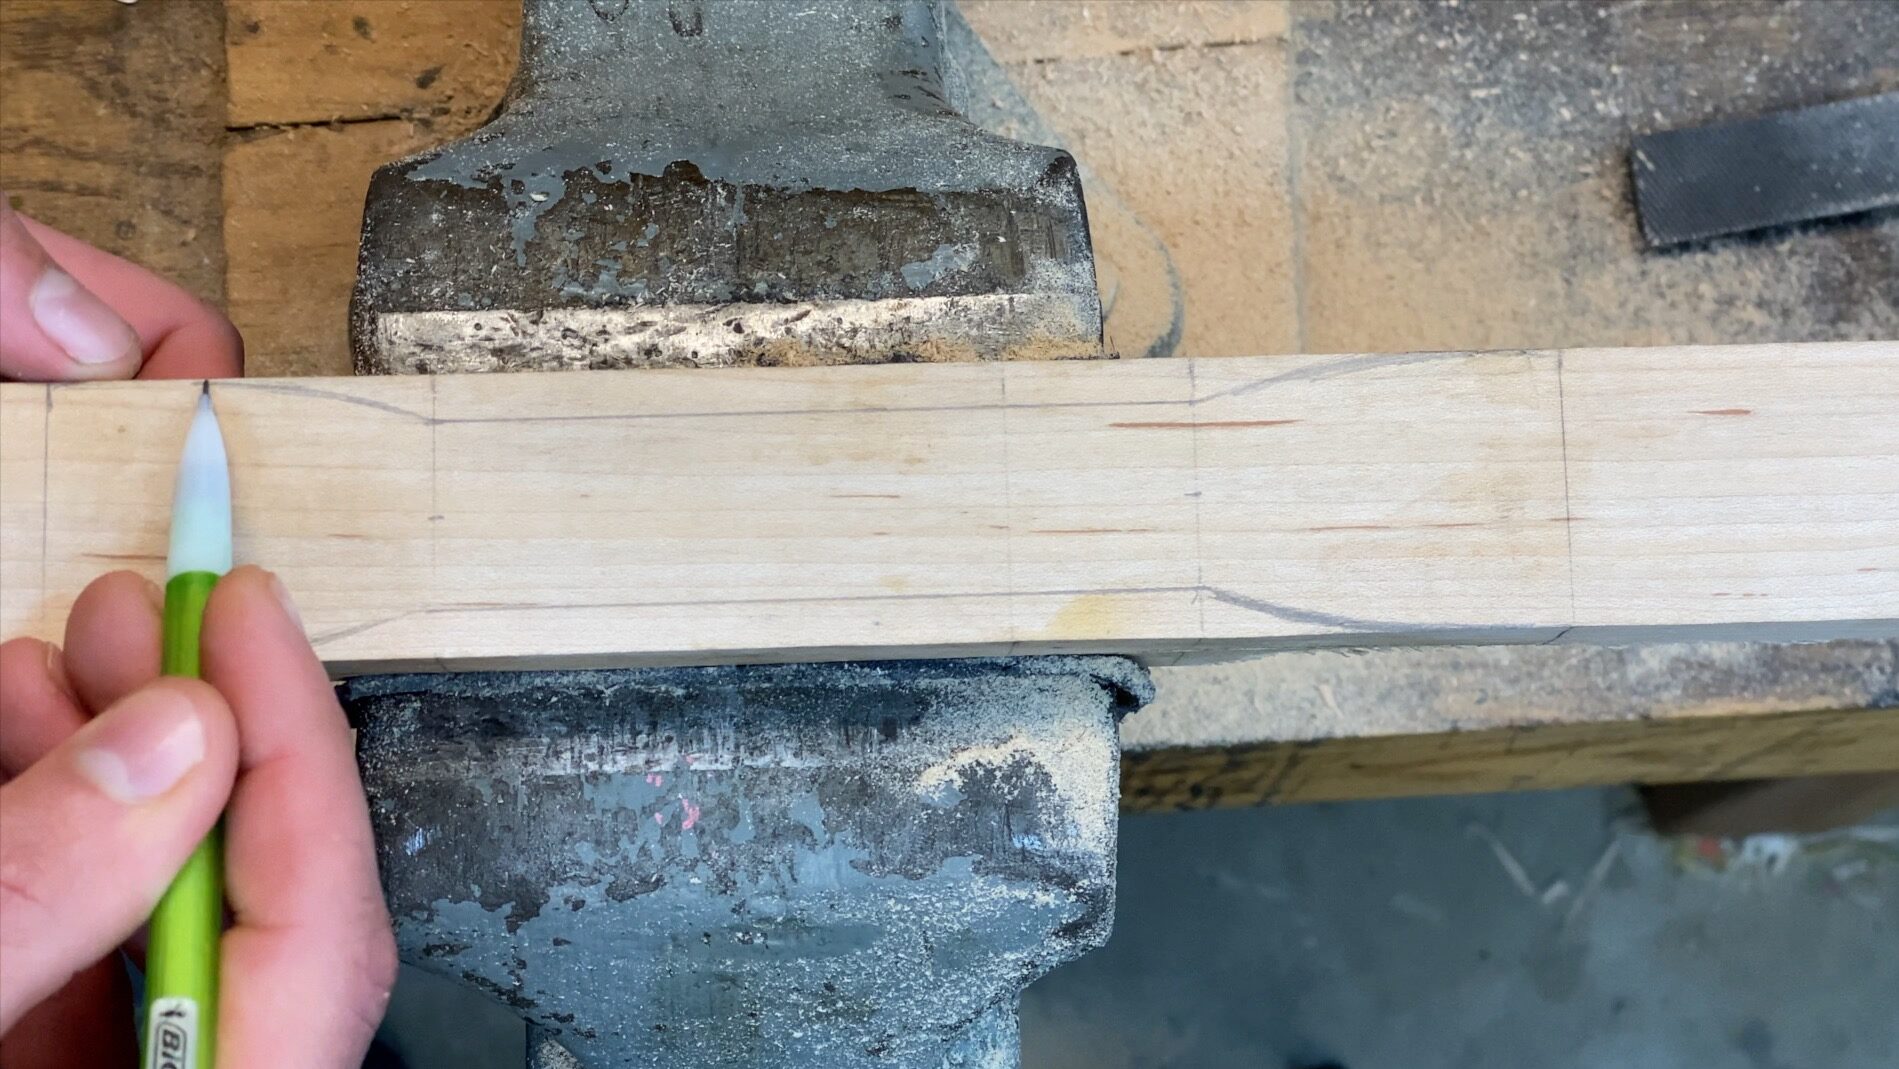
Roughing out the front profile of the handle.
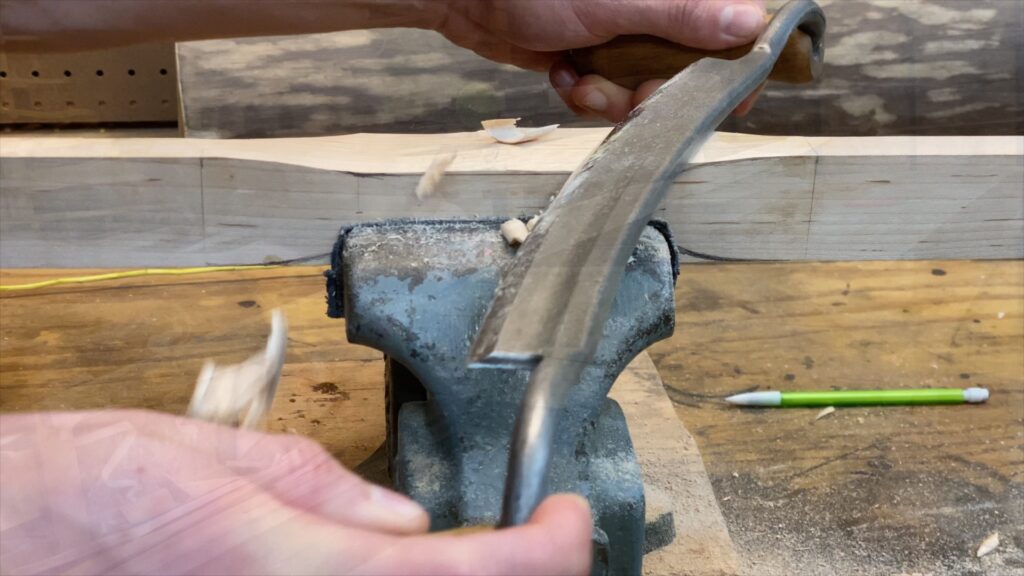
Before moving on, clean up the front profile and make sure the width tapers gradually.
Mervyn Patterson
Hi, congratulations on your full tutorial.It was very well done,easy to follow and understand,one of if not the best tutorial I have seen.Thanks very much I as a amateur bowyer found it most informative but being English my experience is more toward the English Longbow or D section bow.I have had some success with Italian and Pacific Yew.After seeing this I will have a go at a flat bow.
Best wishes Mervyn Patterson UK.
dansantanabows
Thanks Mervyn. In the UK also keep an eye out for Ash, Elm, and Hazel. On facebook there’s a UK bowyer’s group you may want to check out. There’s probably someone close to you who can show you the ropes. There are also several UK bowyers on the other groups and r/bowyer. Good luck and enjoy the journey!
Duke
I am very new at this and can’t wait to start. thank you very much for these easy-to-follow instructions and video. As soon as I obtain the equipment and a good piece of wood I will try to follow your directions.
thanks again and be safe
dansantanabows
Glad to hear it Duke. Hope to see your bow on r/bowyer one day. Good luck and feel free to post as many tiller checks as you need
Gingdah
I enjoyed the detail that you have. This one of best Detail videos on making a bow I seem.
Tyson
Picked up a red maple board and a draw knife today, getting started this weekend. Can’t thank you enough!
dansantanabows
That’s awesome! With red maple I’d go for a slightly wider bow than I have, maybe 2” wide, or a slightly lower draw weight of 30 or 35 pounds. Next time if you can, try to get one of the maple species categorized as a ‘hard’ maple like sugar maple. Silver and red are a bit less dense, but don’t worry and it won’t stop you from making a bow. Just pay extra attention to the set and drop off the draw weight if you start seeing more than a couple inches.
Good luck and feel free to post as many tiller checks on r/bowyer as you need
Tyson
Thanks, Home Depot was my first stop for lumber, red maple was the best they had in hardwood planks at the moment, excluding mahogany. I did notice the porousness so went with the best most dense board I could find. I’ll post my progress!
Terry Bowmam
I am not able to get bow wood boards around here to sort thru.
I can get Black Walnut or Eastern Red Cedar bow making lumber, but requires a backing. I don’t want to waste my hickory backing yet, been a long time simce I made a wooden bow.
My question is, will that linen backing in your video be strong enough, with some reflex? Or maybe double it?
Thanls
dansantanabows
I’m not a big fan of doubling up on the backing because of the extra mess and glue line. Better to use a thicker backing from the start. I think with ERC lumber you’re probably going to need a hard backing unless you find a miraculously clean and straight board. With natural staves, if you’re able to chase or almost chase a ring then ERC can handle being unbacked, despite the popular advice. The problem is that the other popular advice for ERC is that it’s ok to violate the fibers on the back. This is only true to an extent and I wonder if this practice has much to do with juniper’s reputation for breaking in tension.
John Halverson
You would NOT be wasting your hickory backing on an Eastern red cedar board (so long as the board is fairly decent grained with few or no knots). In fact, Hickory backed eastern red cedar (often called HERC) is considered a superior combination for high speed, high efficiency bows.
dansantanabows
I will write more in the future as my formal ideas develop. My informal ideas are easily found on r/bowyer. Thanks for this backhanded compliment, I think.
Pat
I’m impressed, I must say. Seldom do I encounter a blog that’s equally educative and amusing, and let me tell you, you’ve hit the nail on the head.
The problem is something which too few people are speaking intelligently
about. I’m very happy I stumbled across this during my hunt for something concerning this.
Kevin
G’day Dan, fantastic tutorial. I have always wanted to make a bow and I would like to thank you for putting the time into your channel. I live downunder and I am trying to work out what local timber I can use. After watch this I think I will try to practice on a fine grained timber and will certainly look what is in town at the hardware as well. Thanks again. Cheers Kev
Rex
G’day Kevin, I’ve heard quite a few say Spotted Gum is a good option of you find a nice board. I couldn’t find any it the right size at my local timber supplier so I opted for a really straight bit of Jarrah as it’s properties looked similar to hard maple (density, elasticity and modulus or rupture), hopefully it will work. Some others have said iron bark could work for a bow, but that stuff is so hard it makes it difficult to shape.
Rex
G’day Kev
I’m keen to try this out as well. I’ve heard Spotted gum is a good option. I’m going to try it with some Jarrah. Ironbark might work but that stuff’s really hard, shaping it will probably be a pain and lots of tool sharpening.
Cheers,
Rex
Rex
G’day Kev
I’m keen to try this out as well. I’ve heard Spotted gum is a good option. I’m going to try it with some Jarrah. Ironbark might work but that stuff’s really hard, shaping it will probably be a pain and lots of tool sharpening.
Cheers,
Rex
Mickey O'Neill
Dan–My son and I have decided at the same time to get into traditional bow-making. We shot off and on for years, and really enjoy being out in the fresh air and sunshine losing arrows together!
We both truly appreciate your teaching style and the beauty of the videos you’ve made. Thanks for your generosity!
We both went to the store and got red oak boards for our first bows. That is some hard wood! It’s pretty slow going for the moment, but we’ll see how it goes as we progress.
We share the ultimate goal of crafting character bows out of wood we harvest for ourselves. We’re in Oklahoma, and tried over 20 years ago to make a bow from a piece of Osage Orange. Our attempt still hangs in my office! Hopefully, with your tutelage, we will produce something that shoots!
dansantanabows
Good luck Mickey! I heard from your son on reddit last week and am very glad to hear you’re taking on the project together. Let me know if you have any questions or trouble, and feel free to post as many tiller checks on reddit as you need. Go make a bow!
Ross H
Dan, I loved this tutorial. Extremely helpful, a friend of mine and bowyer, Correy Hawk pointed me to your video. I had a question regarding the scale of the bow.
If I wanted to follow your tutorial to make a kids bow (for a 3-5 year old) how does this scale down from the longer ones you make?
Thank you.
dansantanabows
Correy is an awesome bowyer and teacher. I would love to film one of his classes someday. To answer your question it depends a lot on the design. The absolute easiest way is to copy other kids bow’s dimensions that you see on other forums. Of course you can only copy the rough out dimensions since the true dimensions will be revealed by tillering. For a same length bow you can adjust the draw weight by scaling the width. And as a rough rule of thumb you can estimate the bow length by doubling draw length and adding on the length of your stiff handle, and adding a few extra inches per limb for stiff tips. This will give you plenty of margin for error. It’s possible to make a bow shorter but that will give you a nice safe length.